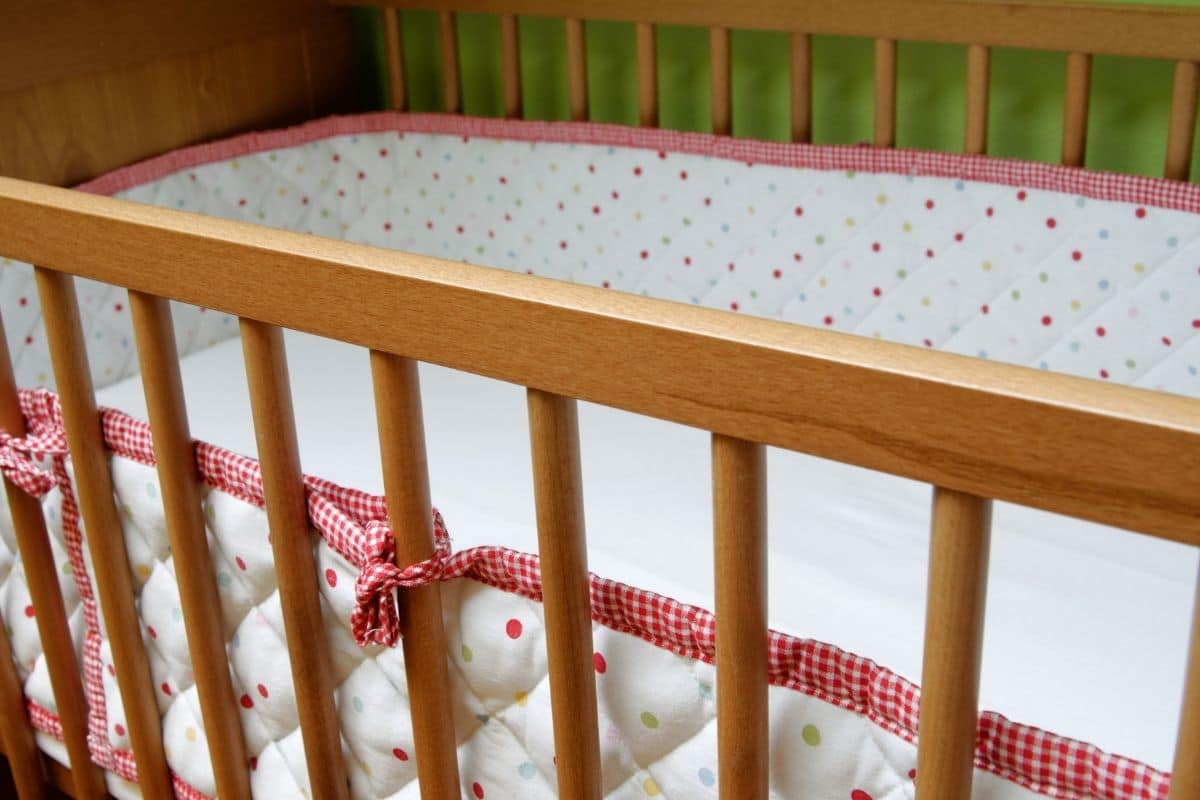
Have you got a crib that has started to look damaged and dull? Do you have a new color scheme in your baby’s room and the crib doesn’t match it?
Don’t settle for a tired-looking crib that doesn’t match your baby’s room, paint the crib instead!
Painting a crib can seem difficult as it isn’t like painting a wall, you don’t just have a flat canvas to paint over.
However, it can be made easier and the reward will be a very big one when you have finished completing the project. It will be the perfect final touch to a beautiful room!
This article will show you how to safely paint a crib to make sure that it doesn’t get damaged or broken.
Find out how to paint a crib so that it looks professional and is the perfect addition to your baby’s room.
What Paint Should You Use?
When you are choosing paint for your baby’s crib, you want to make sure that you choose the right color to match the room.
Although this is important, it isn’t the most important factor to look for when you are choosing paint as you want to make sure that the paint is suitable to use and safe for your baby to be around.
You need to make sure that the paint is high quality so it won’t chip very easily.
This will ensure that you don’t have to constantly repaint the crib to keep it looking fresh, so choosing high-quality paint is important for making the crib look professional and striking in the room.
As well as having high-quality paint, you need to make sure that the paint that you are using is non-toxic. Babies love exploring with their hands, and especially with their mouths.
So, it is likely that your little one will lick his/her crib now and then. That’s why it is essential that your crib paint doesn’t contain any toxins or harmful chemicals.
If you are painting over paint that is already on the crib, you need to find out whether the base paint is non-toxic, otherwise, you will need to scrape it off.
It is important to make sure that your baby is as safe as possible in the crib.
How To Paint The Crib
Once you have chosen a suitable paint to use on the crib, it’s then time to begin painting the crib.
Take a look at the steps below to see how you can give your crib a really professional look.
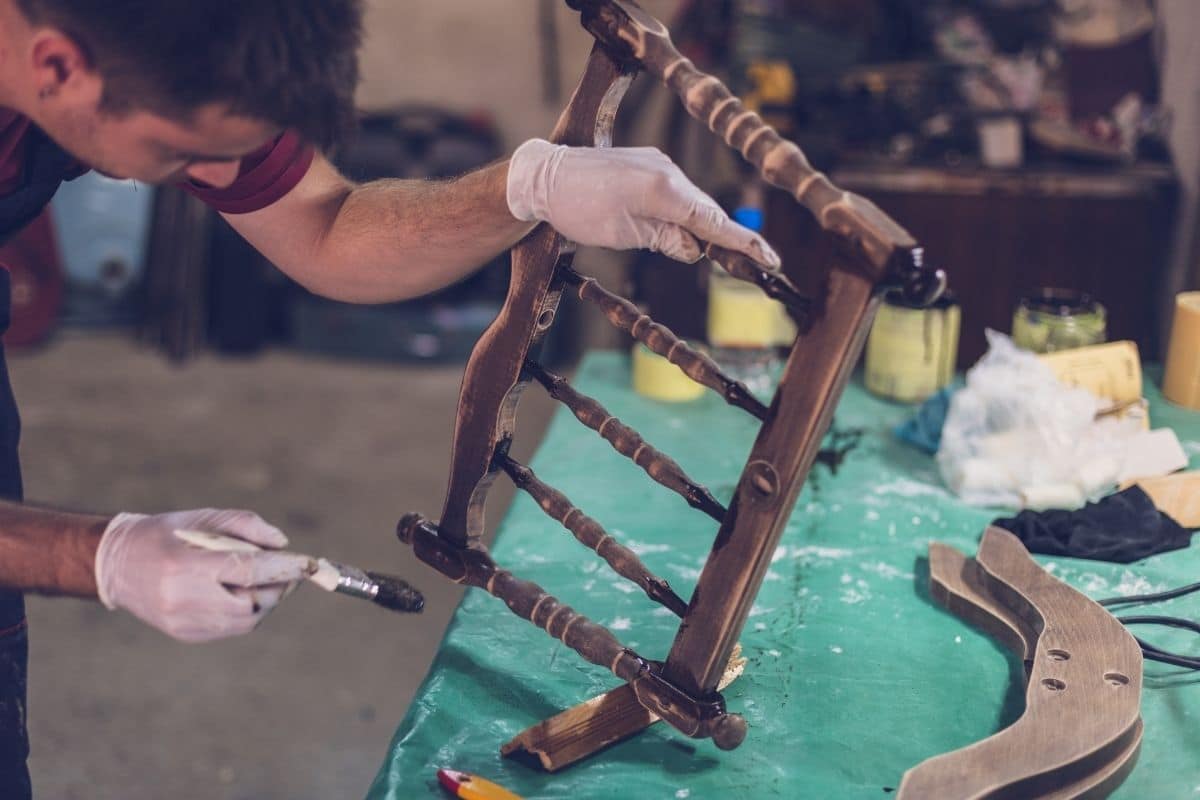
Sand The Crib
Before you begin to paint the crib, you will need to sand down the crib to make sure that you have a suitable surface to paint over.
The problem with painting over existing paint is that it can chip easily, so sanding down the crib will ensure that the paint bonds with the wood and that it lasts for longer.
Once you have sanded down the crib, wipe away the dust to make sure that you have a clean finish. You can use a dry cloth or even a hoover to do this.
Apply Primer
When you have sanded down the crib, apply a primer to the crib to make sure that the paint lasts longer on the wood.
The primer will also help to enhance the finish on the crib as it will look smoother and more professional.
If you don’t use a primer, the paint can also chip more easily, so the paint will look fresher for longer when you apply a primer before you begin painting.
You need to make sure that you leave the primer to dry thoroughly. This will guarantee a much better finish on the final result.
The drying time of different primers will vary, so read the instructions and leave the primer enough time to dry completely before you start painting.
Sand The Crib Lightly
Unless the primer that you are using specifically tells you not to sand down the primer, you can lightly sand down the crib after applying the primer to make sure that the paint sticks to the primer layer.
This will help the paint to stick and provide you with a cleaner finish on the crib.
Begin Painting The Crib
Once the primer has dried and you have finished the second sanding you can finally begin to paint the crib.
Make sure that you avoid painting over any screws or latches as you don’t want to damage them, so stick to the wood on the crib.
Once you have finished painting, leave the crib to dry before it is used. Once dry, you can finally enjoy having a crib in your baby’s room that matches the color scheme!
Final Thoughts
To conclude, it is important to make sure that you paint the crib properly as you do not want to damage or break this essential piece of baby furniture.
You need to make sure that the paint that you are using is non-toxic, so when your baby licks or touches the crib stays safe from any harmful chemicals.
It is a good idea to sand down the paint that is already on the crib to make sure that the new layer of paint used on the crib is safe.
Once you have correctly prepared the crib, you can begin painting!
It is important not to skip steps when painting your crib as sanding it down and priming the surface will help to enhance the finish.
By following these steps, the crib will look just as you want it to look with all the other furniture in your nursery.
Carly Link, a 33-year old mother of two toddlers. She is a parent and goes through a lot of the usual parenting difficulties herself. Carly shares all her experiences and knowledge about the best baby products through this blog.